Special Edition
Well I said I wouldnt do another this year unless I found an SE and here it is.
It took about 4 or 5 months of begging the owner to part with it because he was looking forward to restoring it for himself.
Eventually the phone call came asking me how much Id pay for it and off I went to collect the bike. When I saw it in daylight, (it had been stored in his loft for who knows how long), I was quite disappointed.
There are bits missing from it, the frame is bent and the back wheel is damaged. My original offer was way too generous but we settled on a reasonable figure and I became the happy owner of this "not so" Special Edition.

So here it is in all its glory!
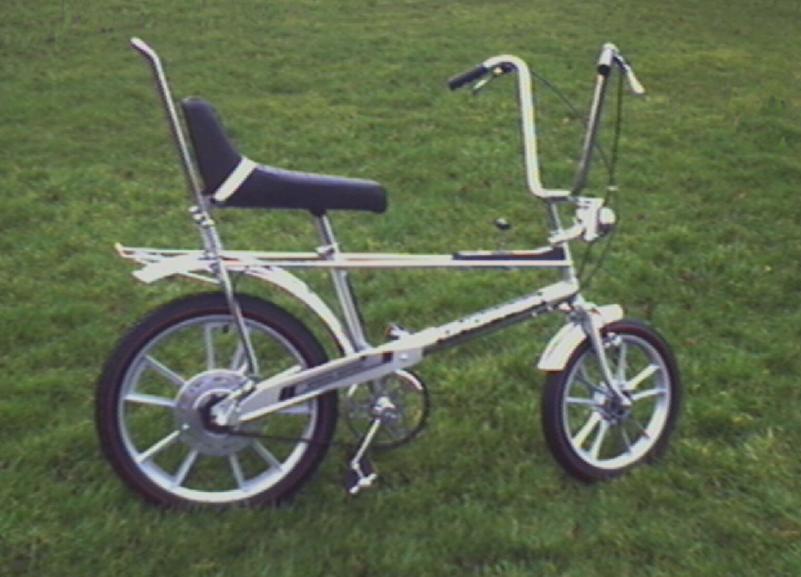
I`ve had a lot of help with this bike and I`m especially grateful to "Catfood" Rob who arranged the respray which was colour matched perfectly. Thanks Rob!
There have been a lot of new and rechromed parts fitted as well as NOS handlebar grips, "r" nuts, gear shifter parts, cables, brake levers and front lamp. It also has new tyres, seat cover and even the bearings have been replaced.
Everything has had attention in some way. If it isn`t NOS or new its been replated, repaired or resprayed.
I`m very happy with it!
Problems....
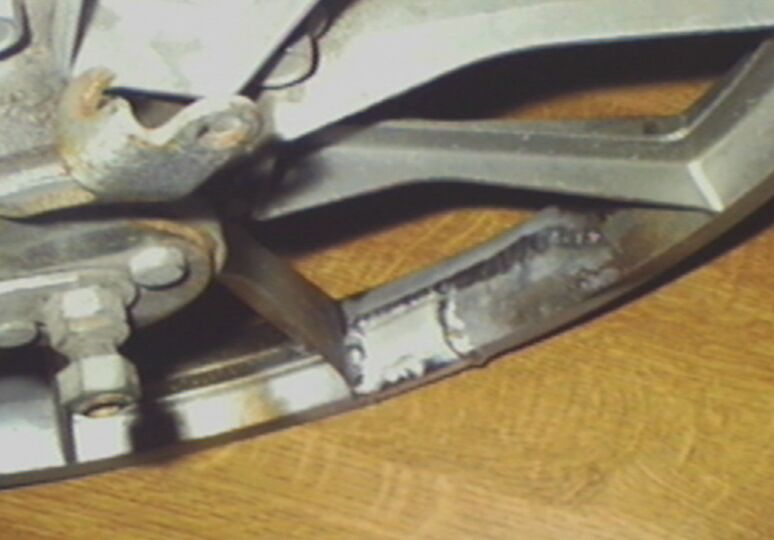
If you look closely at the top picture you`ll see a big chunk of metal missing from the wheel rim. Obviously this needed to be repaired or the tyre would be cut to shreds on the sharp edge.
I walked into my nearest specialist welder place proudly holding my damaged rim out for him to inspect. "Can you fix this?" I asked. "Yeah but its gonna cost ya" came the answer from the acetylene torch wielding, dark goggled specialist welding man. "Ok, how much?" I replied, holding my breath, ready for the extra oxygen my brain would need to come to terms with his quote. "Errr... £40?" he grunted, I followed quickly with: "I`ll pay cash...", "Ok then I`ll do it for £35". That was music to my ears. "Ok then how long will it take?", expecting to hear "2 weeks, 3 weeks? you know how it is mate - Im busy". "Oh I`ll have it ready today", "What? Today? even though its half two now?", "Yeah give the girl your phone number and she`ll ring you when its ready". Sure enough 4:30pm arrived and my wheel was at the stage shown here. He`s done an excellent job, welding on both sides so that the outer part can be ground down completely so that no traces of weld will show when its finished.
Stuck cotter pins.
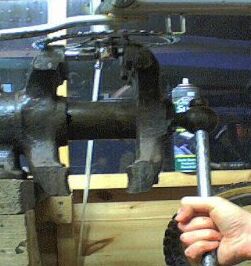
What do you do when hammering, drilling and g clamps don`t budge your cotter pins?
Answer: Squeeze them out using the biggest vice you can find!
On the left you`ll see a 1/2" socket placed over the top end of the cotter pin. If you want to save the threaded end you can screw a nut on by a thread or two before you apply gentle pressure. Once the pin starts to move try taking it out of the vice and gently tapping with a hammer. In this case they were too tight so more turns were applied to the vice until they were pushed right through.
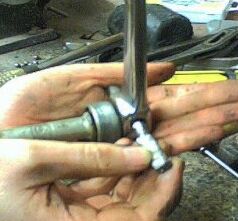
Even then the pin still had enough material held in the hole to prevent it loosening. Since I had one cotter pin out I used this to drift the remaining stuck pin out - see the lower pictures.